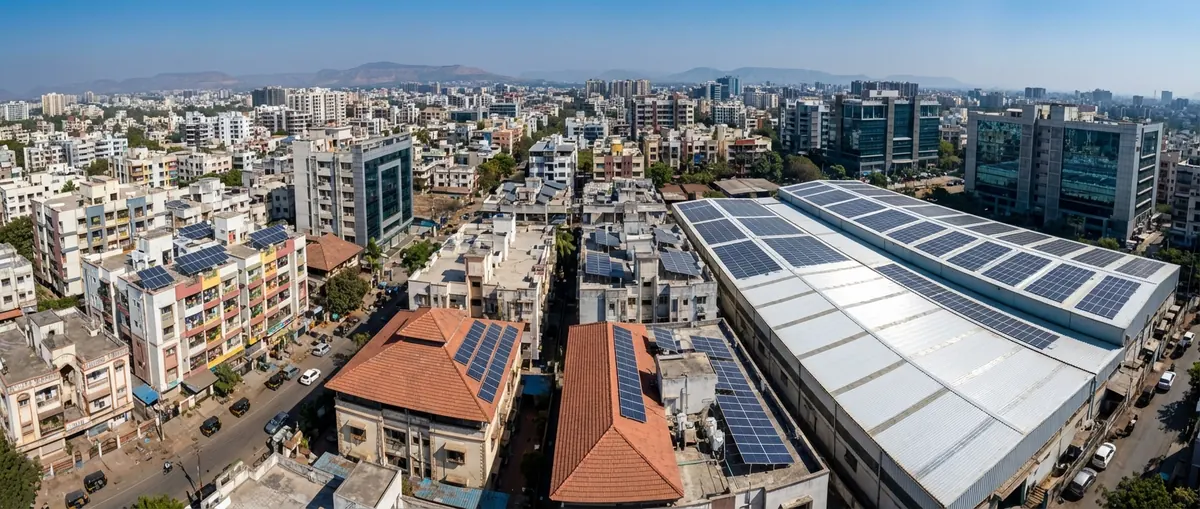
Shading is the single largest source of avoidable energy loss in rooftop solar projects. A poorly positioned array that shades 2% of its modules for 4 hours per day loses significantly more than 2% of annual yield — because shading during peak irradiance hours is weighted far more heavily in the energy calculation than shading during low-irradiance mornings or evenings. Understanding shadow analysis is understanding where your money goes.
Direct answer. Shadow analysis for solar rooftop projects involves three steps: identifying all shading objects (parapets, HVAC units, adjacent structures, trees, overhead cables), modeling their shadow patterns across the year using simulation software (PVsyst, Aurora Solar, Helioscope, or Sketchup with a solar plugin), and quantifying the shading loss as a percentage of annual energy yield. The critical design decision is how to position and configure the array to minimize shading loss below 3% annually — the benchmark that most lenders and DISCOM engineers use as the acceptable threshold for bankable rooftop designs.
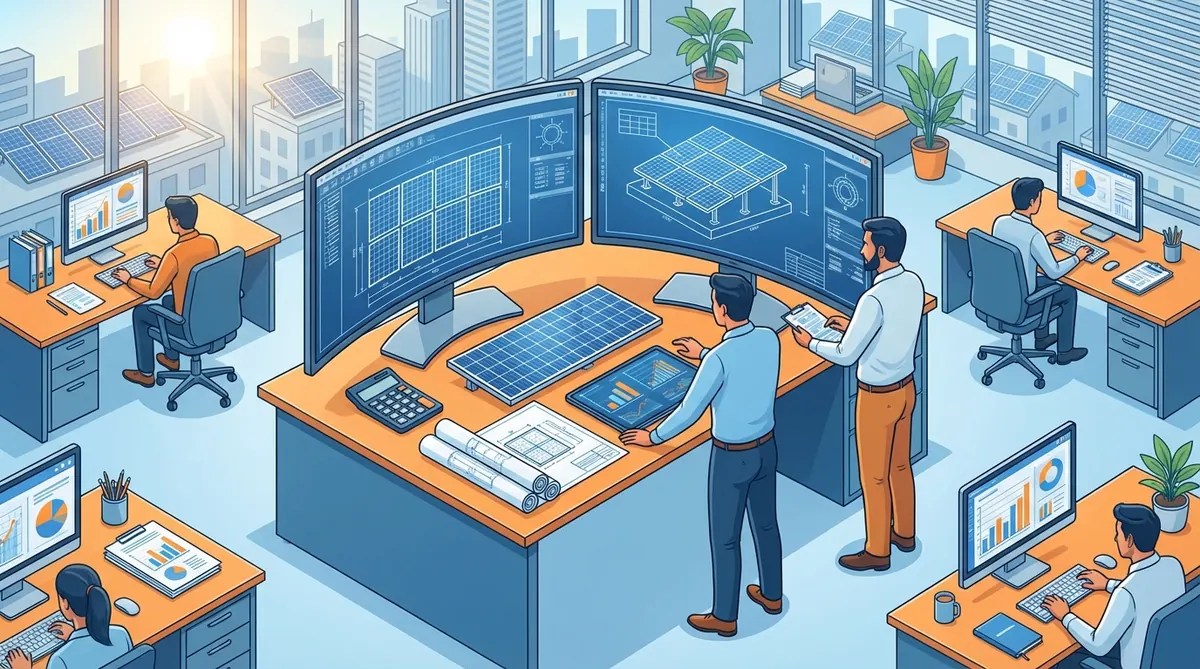
This tutorial takes an EPC designer or project engineer from site visit through shadow analysis output, covering both the technical method and the practical decisions that the software does not make automatically.
Why Shadow Analysis Cannot Be Skipped
The economic case for thorough shadow analysis is straightforward. According to NREL’s analysis of rooftop shading impacts, even partial shading on a string-configured array — where modules in series share the same current — can cause the entire string to produce at the shaded module’s current, not the average. A single shaded module in a 24-module string can reduce that string’s output by 30–60% when the shading hits critical cells.
This is the diode effect: a shaded module acts as a resistance load rather than a power source, pulling down the entire string. Bypass diodes in the module’s junction box limit this to one-third of the module (per bypass diode), but the string still loses the shaded sub-string’s contribution.
Definition. Shading loss in a solar PV simulation is expressed as a percentage of annual irradiance that is blocked by obstructions, multiplied by a shading factor that accounts for the electrical behavior of shaded strings. A 2% irradiance shading loss translates to a 3–6% electrical output loss on a string-configured array without optimizers or microinverters.
Step 1 — Site Data Collection for Shadow Analysis
Accurate shadow analysis begins before any software is opened. The site data collection phase determines the quality of the shading model.
What to collect during the site visit:
- Parapet heights and positions — Measure the height of all parapets, walls, or raised edges around the roof perimeter. Measure the distance from the parapet to the nearest proposed module row.
- HVAC units and rooftop obstructions — Measure the height, width, and depth of every air conditioning unit, water tank, exhaust duct, and equipment on the roof. Note whether they are fixed or movable.
- Adjacent structure heights and distances — Measure or estimate the height and distance of every structure that could cast shadows on the array: adjacent buildings, trees, chimneys, communication towers.
- Overhead cables or wires — Mark the location of any overhead utility or communication cables crossing above the roof.
- GPS coordinates and orientation — Record the exact latitude and longitude of the site (not just the address). Record the magnetic bearing of the roof orientation.
Field tip. Photograph every obstruction from the center of the proposed array area looking toward the obstruction. The photo is your reference for modeling the obstruction's angular size from the array perspective — which is what actually determines its shading impact.
For rooftop projects where a physical site visit is impractical before design, drone surveys and satellite imagery with 3D building models (Google Earth Pro or municipal GIS data) can substitute for most physical measurements. Confirm measurements with a physical visit before final design sign-off.
Our solar site survey guide covers the full site data collection process for both India and US rooftop projects.
Step 2 — Modeling the Shading Scene in Software
The three most common software tools for rooftop shadow analysis are PVsyst, Aurora Solar, and Helioscope. Each has a different approach to shading scene construction. NREL’s solar technical reports include validated benchmarks for shading loss models across each platform — useful when a client or lender challenges your software choice.
| Software | Shading Method | Best For | Shading Accuracy |
|---|---|---|---|
| PVsyst | 3D scene builder + horizon profile | Bankable yield reports, IE review | High (if scene is built correctly) |
| Aurora Solar | 3D aerial model from satellite + LiDAR | US residential permit sets, sales-stage | High for urban areas with LiDAR coverage |
| Helioscope | 3D obstacle modeling + PVWatts yield engine | US C&I rooftop, Helioscope permit sets | Medium-high |
| Sketchup + OpenSolar plugin | Manual 3D model | Complex custom geometries | High (more labor-intensive) |
| PVsol | 3D scene builder, similar to PVsyst | European projects, some India use | High |
For a bankable PVsyst yield report submitted to a lender or DISCOM, the shading scene in PVsyst must be built using the 3D scene builder (not just a horizon profile) to capture near-field obstructions correctly. A horizon profile captures far-field shading (hills, distant structures) but not parapets and HVAC units within 20 meters of the array.
Building the PVsyst 3D scene — step by step:
- Open PVsyst → Project → 3D Model (Shading scene)
- Set the site parameters: latitude, longitude, altitude (from GPS or Google Earth)
- Add the roof surface as a polygon using the measured dimensions
- Add each obstruction as a 3D object (box, cylinder, or polygon), positioned using the measured distances and heights relative to the array center
- Add the module array using the “PV plane” tool: select the module and set the tilt and azimuth angles
- Run the “Shed calculation” to see the annual shading factor
- Check the solar path diagram (sun chart) to confirm which hours and months have significant shading
Step 3 — Interpreting the Shadow Analysis Output
The shadow analysis output from PVsyst or Aurora gives you several numbers. Understanding which ones matter for design decisions — and which ones are just confirmatory — is the skill that separates competent designers from beginners.
The numbers that matter:
| Metric | Meaning | Acceptable Threshold |
|---|---|---|
| Annual shading loss (%) | % of annual irradiance blocked by obstructions | Below 3% for bankable projects |
| Electrical shading factor | Electrical output loss accounting for string behavior | Often 1.5–2× the irradiance loss |
| Peak-hour shading (July–September) | Shading loss during peak irradiance months | Below 5% in any single peak month |
| Morning/evening shading | Shading loss at low sun angles | Higher is acceptable — less irradiance |
| Row-to-row shading loss | Shading from front row to rear rows in the same array | Below 1% with correct row spacing |
The annual shading loss is the headline number, but the peak-month shading loss is the one that affects revenue. A project with 3% annual shading loss that is concentrated in June and July (peak generation months in most Indian sites) loses more money than a project with 3% annual shading concentrated in December and January.
The The Solar Path Shading Method — the proprietary framework for interpreting shadow analysis output in terms of financial impact:
Plot the obstruction on the solar path diagram
PVsyst's solar path diagram shows the sun's position throughout the year as azimuth vs altitude angle. Plot your obstruction's angular size (its apparent height and width from the array center) on this diagram. The area of the solar path that falls behind the obstruction is when shading occurs.
Identify peak-irradiance shading hours
Peak irradiance in India occurs between 10:00 AM and 2:00 PM solar time. Shading during these hours costs 3–5× more energy than shading at 8:00 AM or 4:00 PM. If your obstruction shades the array between 10 AM and 2 PM in June–September, that is a critical design problem.
Test the setback distance
For a parapet of height H, the setback distance D that keeps the array shadow-free between 10 AM and 2 PM solar time can be calculated as D = H / tan(solar altitude at 10 AM on December 21). This is the critical day — the shortest sun path of the year. In Ahmedabad (23.03°N), the 10 AM solar altitude on December 21 is approximately 29°, so D = H / tan(29°) = H × 1.80.
Quantify the financial impact of not moving the array
If the setback requirement reduces the array size by 10 modules (40 kWp), calculate the lost revenue at the client's tariff over 25 years. Compare this to the revenue loss from installing the full array with 5% shading loss. Often, the full array with some shading produces more lifetime revenue than the reduced, unshaded array — the simulation tells you which scenario wins.
Row-to-Row Spacing Calculations for Rooftop Arrays
Row-to-row shading within a multi-row rooftop array is the most common source of shading loss that designers underestimate. The calculation for minimum row spacing to avoid inter-row shading during peak hours:
For a horizontal module array (0° tilt on flat rooftop — modules laid flat to maximize count): Row-to-row shading on flat arrays is typically minimal because the module presents a very small shadow footprint. This is the justification for flat-mount systems on large industrial rooftops.
For tilted arrays (10–15° tilt on flat rooftops, which is typical for India): The minimum row pitch P to avoid inter-row shading between 9 AM and 3 PM solar time on the winter solstice:
P = L × [cos(tilt) + sin(tilt) / tan(solar altitude at 9 AM on Dec 21)]
Where L is the module length along the tilt direction (typically 2.1 m for a 72-cell module in portrait orientation).
For Ahmedabad (23.03°N), solar altitude at 9 AM on December 21 ≈ 20°: P = 2.1 × [cos(15°) + sin(15°) / tan(20°)] P = 2.1 × [0.966 + 0.259 / 0.364] P = 2.1 × [0.966 + 0.712] P = 2.1 × 1.678 = 3.52 m
This means a 3.52 m row pitch is needed to avoid inter-row shading at 9 AM on the worst day. Many designers use a 2.8 m pitch to maximize module count — which creates 10–15% inter-row shading in the mornings and evenings of winter months.
3%
Max annual shading loss for bankable rooftop projects
Industry benchmark, DISCOM and lender standard
1.5–2×
Electrical loss multiplier vs irradiance loss for string arrays
PVsyst documentation, 2024
10–15°
Optimal tilt for flat-roof rooftop in India (20–25°N latitude)
Heaven Designs design standard, 2026
3.52 m
Min row pitch for 15° tilt in Ahmedabad (9AM–3PM shadow-free)
Heaven Designs calculation, 2026
Shade Mitigation Strategies — When the Analysis Shows a Problem
If the shadow analysis reveals annual shading loss above 3%, there are four engineering interventions before you declare the project unviable.
1. Array repositioning. Move the array away from the shading obstruction. If the obstruction is a parapet on the south side (for a north-latitude site), moving the first row northward by the calculated setback distance eliminates parapet shading at the cost of roof space.
2. Row spacing adjustment. Increase row pitch to reduce inter-row shading at the cost of total module count. The simulation will tell you whether the reduced count with lower shading or the higher count with more shading produces more annual energy.
3. Module-level power electronics. DC optimizers (such as SolarEdge P-Series) or microinverters (Enphase IQ8) reduce the electrical multiplier effect of shading. Instead of one shaded module pulling down an entire string, only that module’s output is affected. This is the correct solution for unavoidable partial shading from a chimney, vent pipe, or overhead cable.
4. String redesign. If shading is concentrated on specific modules in a long string, splitting the string into shorter strings may reduce the electrical impact. Shorter strings reduce the number of modules that suffer when one is shaded. For a comprehensive guide to string sizing decisions including shading impact, see our solar cable sizing guide which covers both DC cable selection and string configuration optimization. IEC 61724-1 — the international standard for photovoltaic system performance monitoring — defines the methods for measuring and reporting shading loss in commissioned systems, which is useful when clients request post-installation performance verification against the shadow analysis predictions.
WHEN TO USE OPTIMIZERS
- Unavoidable permanent shading (chimney, vent, cable)
- Complex roof geometry with multiple orientations
- Shading loss above 5% without optimizers
- Client has high-value roof space where module count is critical
WHEN NOT TO USE OPTIMIZERS
- Shading loss below 2% — optimizer cost exceeds yield gain
- All shading is morning/evening (low irradiance) — minimal electrical impact
- Single-roof orientation with no obstructions — straightforward string design is more cost-effective
According to PVsyst’s shading documentation, the “electrical shading factor” applied to convert irradiance shading loss to electrical output loss typically ranges from 1.5 to 2.5 for standard string-configured arrays without optimizers, depending on the shading pattern and string configuration.
How Heaven Designs Helps
Heaven Designs performs shadow analysis as a standard component of all rooftop engineering packages. The analysis includes PVsyst 3D scene modeling, row spacing optimization, and shading loss quantification against the bankable threshold.
- Solar Rooftop Detailed Engineering Design — Shadow analysis included as standard. GA layout optimized for shading loss below 3% annually.
- Solar 3D Pre-Design — 48-hour pre-sales yield estimate with 3D shading model. Know the yield before committing to the design.
- Advanced PVsyst Analysis — Full bankable PVsyst report with near-field and far-field shading, acceptable to lenders and DISCOMs.
- Download a sample shadow analysis report — See the PVsyst shading output format and how it is presented in the project report.
Contact us to discuss your rooftop project’s shading challenges — we will review your site photos and give you a preliminary shading assessment before the design brief.
FAQ
What annual shading loss percentage is acceptable for a DISCOM net metering approval?
Most Indian DISCOMs do not specify a maximum shading loss percentage in their technical specifications. However, lenders financing C&I rooftop projects typically require shading loss below 3% annually for the project to be considered bankable. As a practical standard, the 3% threshold is used by most professional designers as the upper limit for rooftop projects targeting DISCOM approval and financing.
Can I use Google Maps or satellite imagery instead of a physical site survey for shadow analysis?
Google Earth Pro provides 3D building models and sun shadow simulation for a quick initial assessment. However, it does not capture rooftop-specific obstructions — HVAC units, water tanks, parapets of varying height — with sufficient accuracy for a bankable shadow analysis. Use satellite imagery for pre-feasibility assessment; use a physical site visit or drone survey for the final IFC design.
How does shading loss change with microinverters vs string inverters?
With string inverters, one shaded module reduces the entire string’s current to the shaded module’s current (before bypass diodes activate). With microinverters, each module has its own inverter, so a shaded module only affects its own output — not the string. The practical implication is that the electrical shading loss multiplier drops from 1.5–2.5× (string) to approximately 1.0–1.1× (microinverter) for the same irradiance shading pattern.
How do I account for seasonal shading variation in my PVsyst report?
PVsyst’s monthly irradiance shading report shows the shading loss for each month of the year. Review this table in your simulation output: if December, January, or February show shading losses above 10%, consider whether the winter revenue loss is significant enough to justify repositioning the array. For most Indian projects at 20–25°N latitude, winter months account for 18–22% of annual GHI, so high winter shading has a limited annual impact.
What happens if a neighbor builds a new structure after my system is installed?
New structures built after your installation that shade your array create a legal dispute, not an engineering one. In India, solar installations above a certain capacity have legal protection under state solar policies in some states. In the US, many states have solar easement laws that protect existing solar installations from new shading structures. Document your installation date and irradiance baseline at commissioning — this evidence is needed if a shading dispute arises.
Should I run shadow analysis before or after sizing the inverter and strings?
Run shadow analysis before string sizing. The shading analysis output — specifically, which modules are in shade and at what time of year — affects whether string splitting or optimizer deployment is needed. A string sizing exercise done before the shading analysis may need to be revised. Do the shading analysis first, then finalize the string configuration.